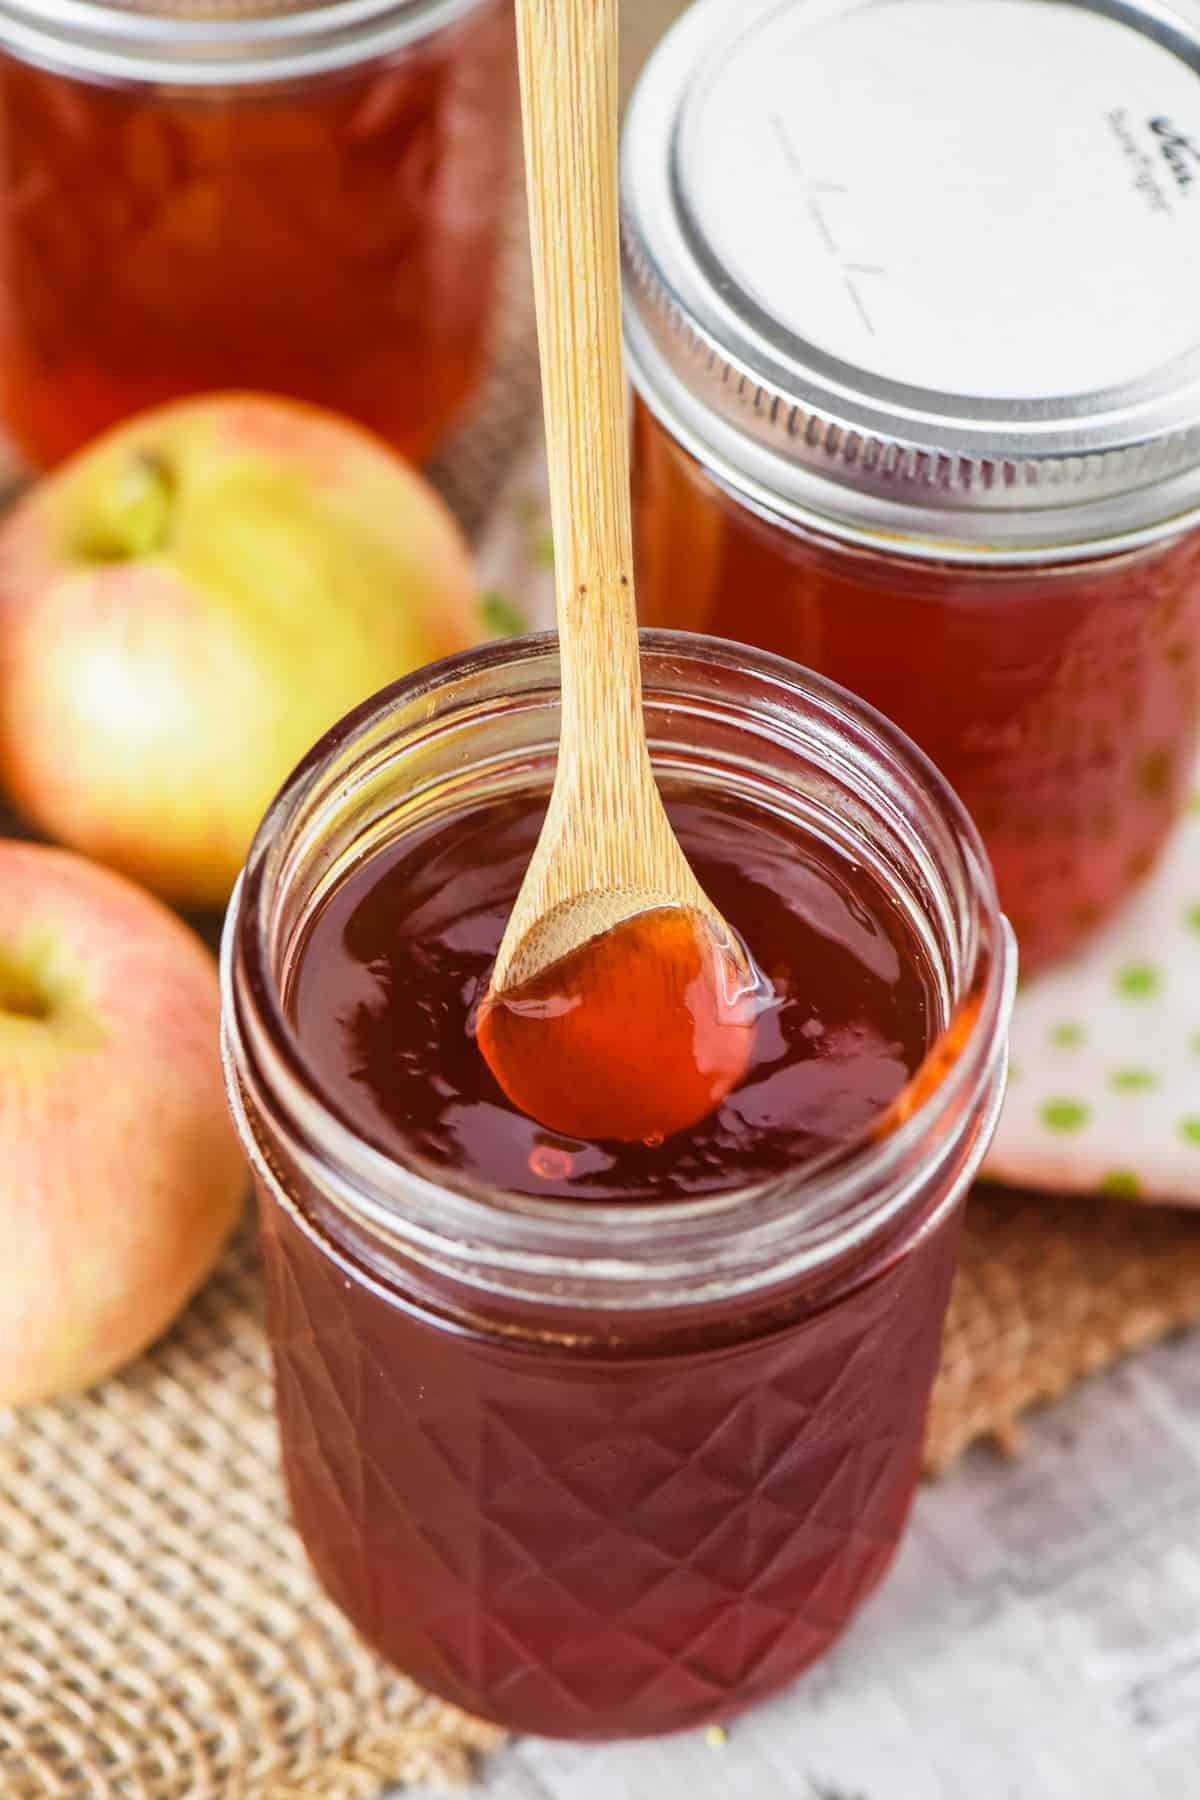
Candied apple jelly is a delightful sweet treat that brings together the crisp taste of fresh apples and the joyful flavor of classic red candy melt. Making this jelly at home allows you to capture the warm essence of autumn harvest inside a clear glass jar that lasts for months on your pantry shelf. The process involves cooking pure apple juice with sugar, fruit pectin, and a splash of bright cinnamon flavoring to recreate the exact taste of those popular shiny red apples sold at country fairs. People of all ages enjoy this smooth spread because it offers a fun twist on traditional fruit preserves while keeping the familiar comfort of homemade preserves intact. Cooking a fresh batch fills your whole kitchen with a rich spice aroma that instantly makes your home feel cozy and welcoming to family members and guests alike. Learning how to safely preserve this vibrant red spread ensures you always have a delicious topping ready for morning toast, warm biscuits, or special holiday desserts.
Many home cooks fall in love with this particular preserve because it successfully bridges the gap between nostalgic childhood memories and practical food preparation. The striking crimson color looks absolutely stunning inside glass containers, making it one of the most visually appealing items you can store in your kitchen cupboard. Beyond its great looks, the jelly delivers a powerful burst of sweet cinnamon taste balanced by the natural tartness of fresh fruit juice. Children especially adore the sweet flavor profile, while adults appreciate how it upgrades simple everyday breakfast items into memorable treats. It is also an remarkably consistent recipe to make, meaning even first time cooks can achieve a smooth texture without dealing with seed separation or complicated fruit peeling tasks. Sharing jars with neighbors, teachers, and family members during the holiday season has become a cherished tradition for thousands of home preservers across the country.
There are countless great reasons to prepare this batch of sweet spread, ranging from seasonal fruit abundance to the pure joy of handmade gift giving. When apple trees are heavy with fruit during the crisp fall months, making jelly is one of the most efficient ways to preserve large quantities of juice before it spoils. It also serves as a wonderful creative outlet for people who want to try safe food preservation without buying complex or expensive kitchen equipment. From a lifestyle perspective, making your own sweet spreads gives you complete control over the quality of your food, allowing you to avoid artificial fillers found in standard grocery store tubs. Eating a small spoonful of this cinnamon spiced jelly on whole grain bread provides a fast energy boost before a morning workout or a busy day at work. The emotional satisfaction of pulling a glowing red jar from your pantry during the cold winter months makes every minute spent around the hot stove completely worth the effort.
Starting this food preservation project brings a strong sense of accomplishment that simple grocery shopping can never match. The simple act of measuring sugar, watching the vibrant red liquid boil, and hearing the small metal lids click closed creates a deeply satisfying routine that connects you to classic home cooking traditions. You do not need decades of culinary experience to master this technique because the simple steps are easy to master with just a little patience and care. Having a stash of sweet candied spread ready in your pantry means you are always prepared for unexpected breakfast visitors, quick snack cravings, or last minute party appetizers. The rich cinnamon aroma that lingers in your home long after the stove is turned off serves as a comforting reminder of simple pleasures created with your own hands. Embracing this delicious preserve allows you to celebrate seasonal flavors while building practical kitchen skills that will serve you and your family for years to come.
Ingredients You Will Need
-
4 cups pure apple juice with no added sugar
-
1 package powdered fruit pectin equal to 1.75 ounces
-
4.5 cups granulated white sugar
-
0.5 cup red cinnamon hard candies
-
0.5 teaspoon red food coloring for extra color
-
0.5 teaspoon pure butter to prevent excess foam
-
2 tablespoons fresh lemon juice
Step by Step Method
Begin by preparing your canning equipment so everything is clean and ready to use. Wash six small glass jars, along with their metal rings and flat lids, in warm soapy water, then rinse them thoroughly. Place a large pot filled with water on the stove and submerge the clean glass jars inside so they stay hot until you are ready to fill them. Keeping the glass warm prevents the jars from cracking when hot liquid is poured inside later.
Pour the pure apple juice directly into a large stainless steel pot set on your stovetop. Sprinkle the powdered fruit pectin evenly over the cold juice while stirring constantly with a wooden spoon to prevent lumps from forming. Add the fresh lemon juice and the half teaspoon of pure butter into the mixture. The small amount of butter breaks the surface tension of the liquid, which keeps large foam bubbles from forming while the jelly boils.
Turn the stove burner to high heat and bring the liquid to a rolling boil that cannot be stirred down with your spoon. Once the liquid reaches this intense boil, dump in all the granulated white sugar and the red cinnamon hard candies at the same time. Stir the mixture continuously so the heavy sugar does not sink to the bottom of the pot and burn onto the metal surface.
Continue heating the mixture over high heat while stirring constantly until the liquid returns to a full rolling boil. Set a timer for exactly two minutes as soon as the hard boil resumes. Keep stirring nonstop during these two minutes so the cinnamon candies dissolve completely into the hot sweet liquid. If you want a deeper crimson color, stir in the half teaspoon of red food coloring during this final boiling stage.
Carefully remove the hot pot from the stove burner using safe heat resistant potholders. Use a large metal spoon to skim off any tiny foam bubbles that might still remain on top of the smooth liquid surface. Carefully pull your warm glass jars out of the hot water bath using jar tongs, draining any excess water back into the pot. Place the empty warm jars on a clean kitchen towel laid out flat on your counter.
Pour the hot red liquid into the prepared warm jars using a wide funnel to keep the glass rims clean. Leave about one quarter inch of space at the top of each jar, which is known as headspace. This small gap allows the sweet liquid to expand safely during the heat sealing process without pushing out under the lid.
Take a clean damp paper towel and wipe the top rim of every glass jar to remove any sticky drops of liquid or sugar residue. A clean rim is crucial because even a tiny drop of spilled jelly can prevent the rubber gasket on the metal lid from creating an airtight seal. Place a flat metal lid on top of each jar, then screw the outer metal band down until it is fingertip tight. Avoid overtightening the bands, as air needs to escape from the jars during the water bath process.
Use your jar tongs to lower the filled jars back into the pot of hot water, making sure the water covers the jar tops by at least one full inch. Place the lid on the pot, bring the water to a full boil, and process the jars for ten minutes. If you live at a high altitude above one thousand feet, add extra boiling time according to standard home food preservation guidelines.
When the processing time is finished, turn off the stove heat and remove the pot lid carefully away from your face. Let the jars sit inside the hot water for five minutes to settle down gently. Use your tongs to lift the hot jars straight up out of the water without tilting them, and place them back onto the kitchen towel on your counter.
Allow the jars to sit undisturbed at room temperature for twenty four full hours. You will soon hear pleasant popping sounds, which indicate that the vacuum seal is working and the metal lids are pulling downward tight. After a full day, press the center of each lid to ensure it does not bounce up and down. Store any sealed jars in a cool dark pantry for up to one year, and put any unsealed jars straight into the refrigerator to enjoy right away.
Why This Recipe Is Special
This homemade spread stands out because it combines the familiar comforting taste of orchard fruits with the exciting zing of cinnamon candy. Unlike store bought spreads that rely heavily on high fructose corn syrup and artificial preservatives, this home cooked version uses simple ingredients that you can easily read and recognize. The addition of fresh lemon juice brightens the overall fruit flavor profile while balancing the natural sweetness of the white sugar.
Making jelly at home also offers surprising lifestyle benefits for your household routine. Preparing your own preserves reduces reliance on single use plastic packaging commonly found in supermarket aisles, promoting a more eco friendly kitchen environment. When enjoyed in moderation, a sweet spread made from pure fruit juice offers a fast source of carbohydrates, making it a great option for refueling after intense outdoor physical activity or long walks.
Furthermore, the bright color and cheerful spice taste bring immense joy during cold seasonal months when fresh fruit choices are limited. The smooth texture glides effortlessly over baked goods, making breakfast preparation quick and enjoyable for busy parents. Knowing that you created a long lasting pantry staple from basic liquid ingredients brings a sense of pride and self reliance that modern shopping simply cannot match.
Extra Tips for Better Taste
-
Swap standard juice for spiced apple cider to create a much deeper autumn flavor profile.
-
Add a tiny pinch of ground nutmeg or clove during the main boil for extra holiday aroma.
-
Use clear apple juice rather than cloudy juice if you want your finished jars to look extra shiny.
-
Serve this sweet spread alongside sharp cheddar cheese and whole grain crackers for a fast party snack.
-
Warm a few spoons of jelly in the microwave to use as a warm drizzle over vanilla ice cream.
-
Always check that your sugar is fully dissolved before timing the final two minute boil.
Final Thoughts
Creating your own sweet candied apple spread is a fun and deeply satisfying kitchen project that brings warmth, great flavor, and vibrant color into your daily meal routine. Taking the time to craft long lasting jarred foods connects you with traditional cooking wisdom while filling your pantry with treats that far exceed store bought options in both visual beauty and taste. Whether you spread it over warm morning biscuits, pair it with savory snacks, or box it up as holiday presents for loved ones, this simple red jelly is sure to bring bright smiles to everyone at your table.
Nutrition Details
| Nutrients | Amount Per Serving | | Apple Juice Base | 15 Calories | | Total Sugars | 12 Grams | | Carbohydrates | 13 Grams | | Sodium | 5 Milligrams | | Fat | 0 Grams | | Protein | 0 Grams | | Serving Size | 1 Tablespoon |
Disclaimer
Everyone has unique dietary requirements, health conditions, and nutritional needs. The information provided in this article is meant for general educational purposes and home cooking enjoyment only. Nutrition values are rough estimates based on standard ingredients and may vary depending on the specific brands you purchase. If you have concerns regarding sugar consumption, food allergies, or medical conditions like diabetes, please consult a qualified healthcare expert or licensed nutritionist before adding sweet preserves to your daily eating routine. Always follow proper home food preservation guidelines to ensure your canned products remain completely safe to eat.